
Getting Started
This guide gets you from zero to your first Cloudairy board in a few minutes.
Create an account
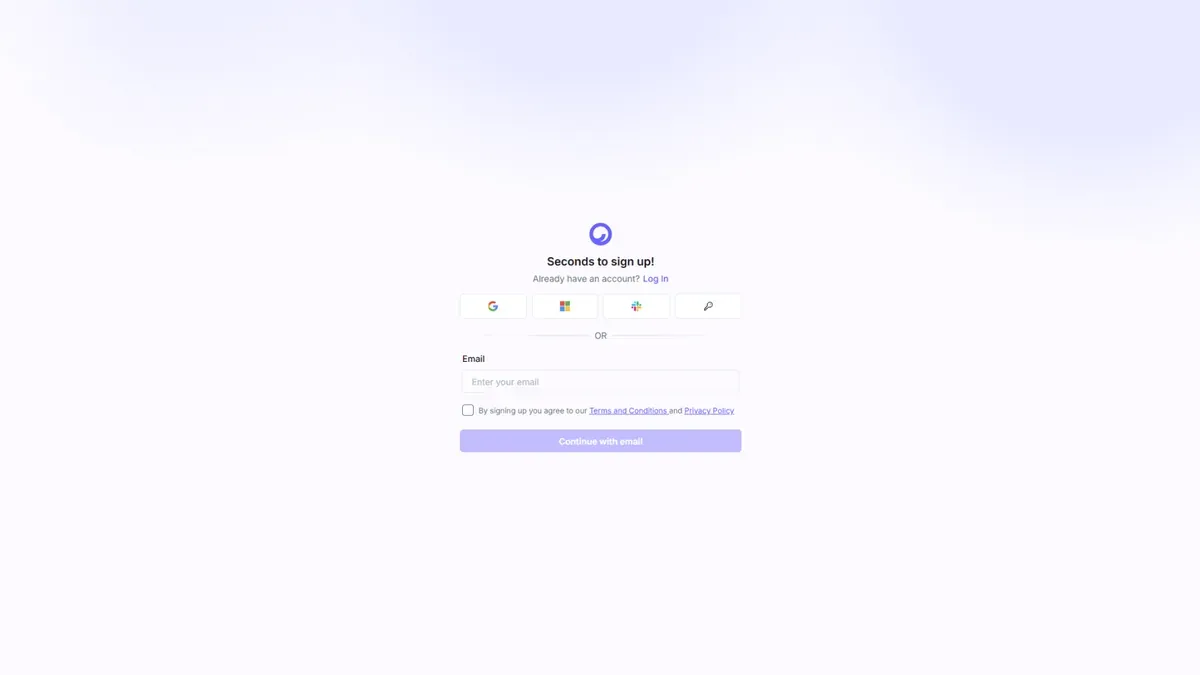
- Go to cloudairy.com and select Sign Up Free.
- Sign up with your email, or continue with Google or your company's SSO.
- Verify your email address if prompted.
Note: The Free plan is free forever for unlimited members — no credit card required. You can upgrade any time from within the app.
Sign in
Returning users can sign in at any time:
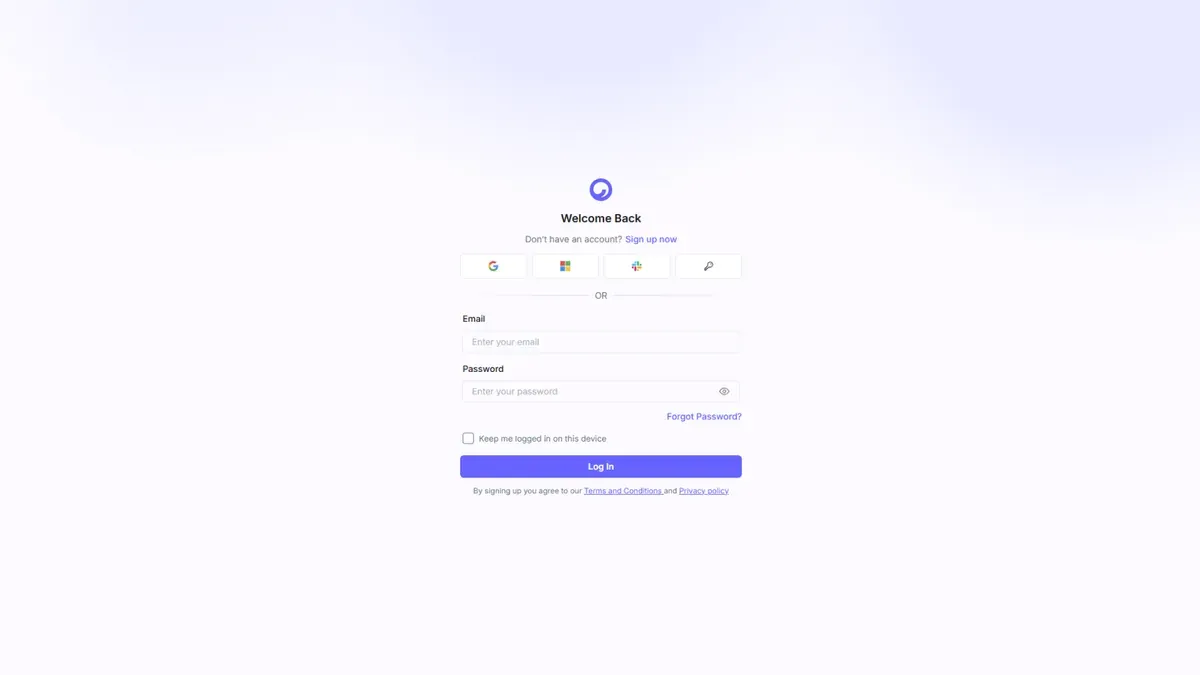
- Go to cloudairy.com and select Login.
- Enter your email and password, or use Google / SSO.
Complete onboarding
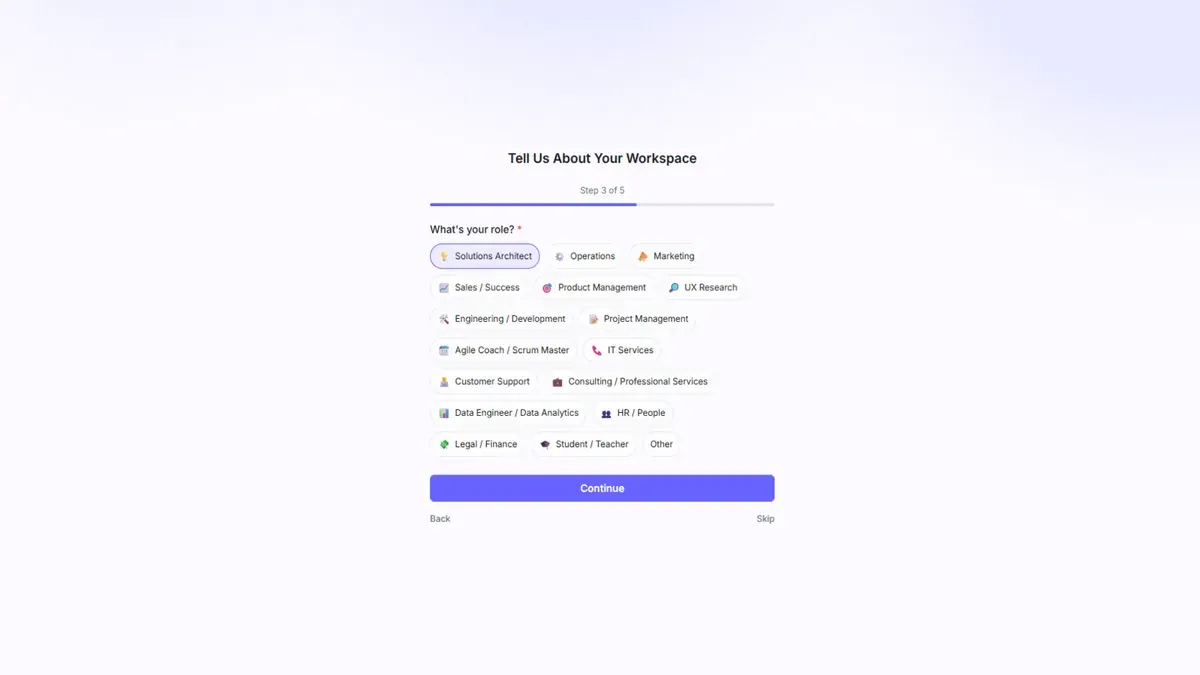
The first time you sign in, Cloudairy asks a couple of quick questions to personalize your workspace:
- Tell us about your team — your role and team type.
- Pick a first template — choose a starting point, or skip to a blank board.
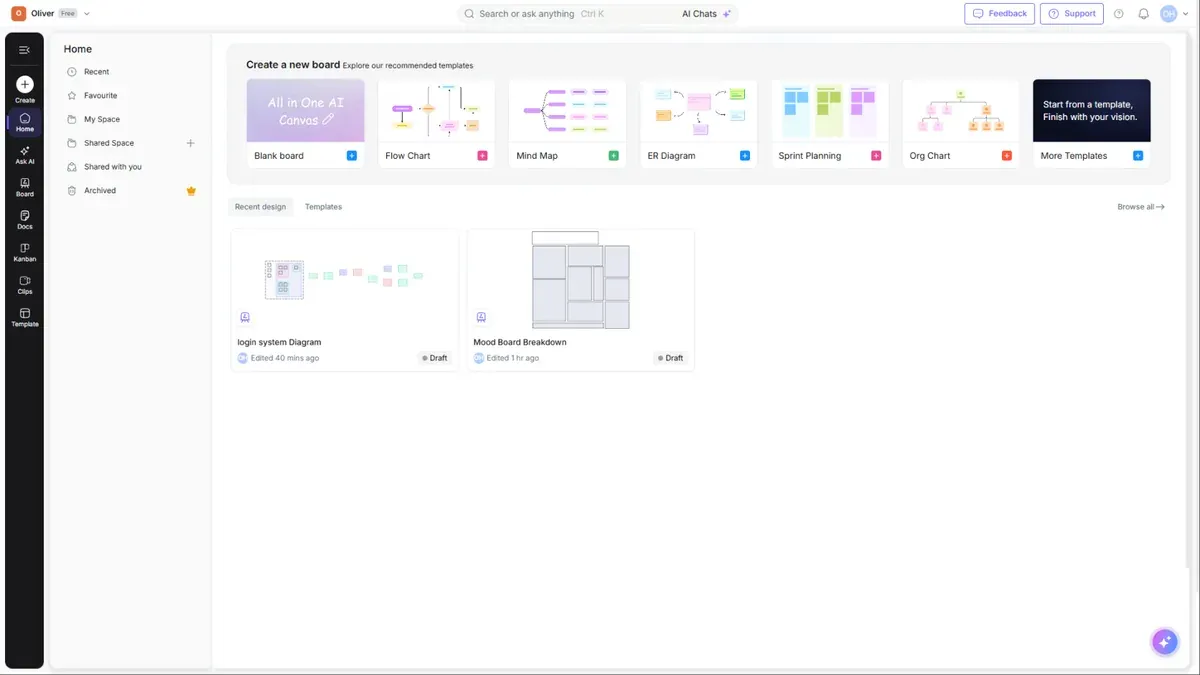
Once onboarding is done, you land on the Home dashboard, ready to create.
Create your first board
From Home, you have two fast paths to a new board:
- Select any option in the "Create a new board" strip — Blank board, Flow Chart, Mind Map, ER Diagram, Sprint Plan, or the All-in-One AI Canvas.
- Or use the Create button in the left rail for the full menu (Board, Doc, Kanban, Clip, Folder, or Create with AI).
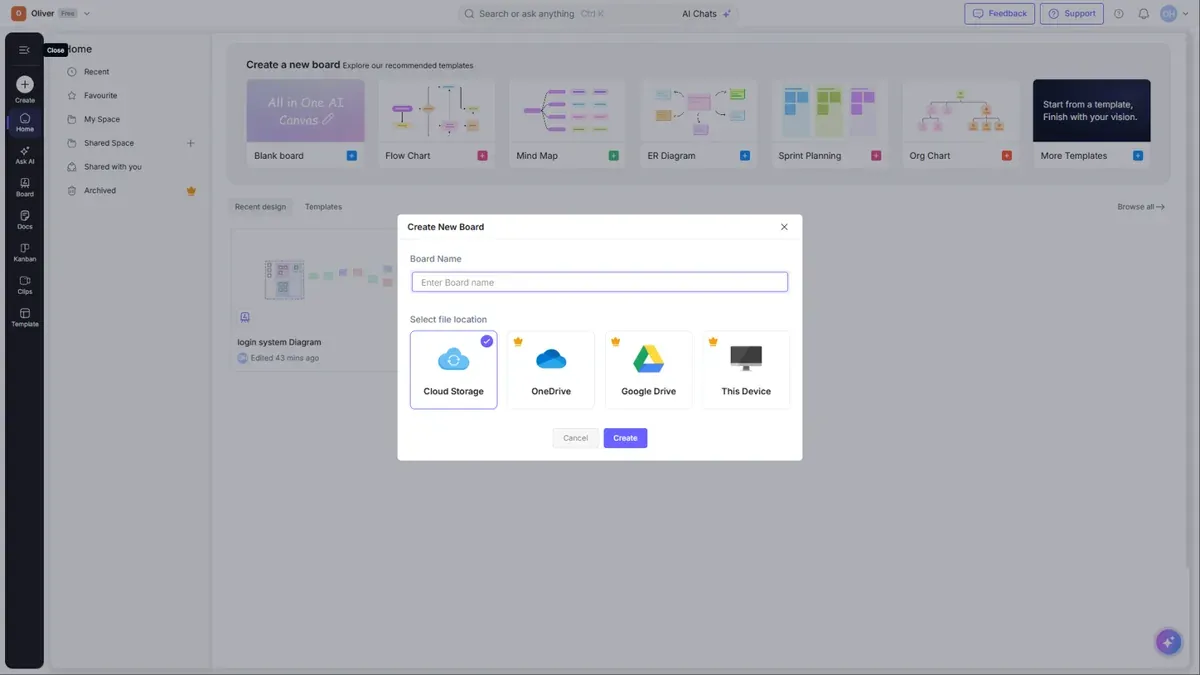
Tip: Not sure where to start? Choose All-in-One AI Canvas and describe what you want — Cloudairy AI will draft it for you. See Cloudairy AI.
Next steps
- Learn the interface in Home & Navigation
- Explore the full editor in Boards & Canvas Editor
- Invite your team in Sharing & Collaboration